On Wednesday, January 11th, the BCTW Meetup kicked off its Winter 2018 semester with a presentation about posting on WordPress. This was specifically aimed at BCATW members and board, of which five attended.
For those who didn’t attend, here is the essence of what we discussed.
The Internet continues to be a major vehicle for writers, and of all the online platforms, WordPress continues to dominate. As a writer, it’s only a matter of time before you’re called upon to use WordPress either for work or self-promotion.
To help out, here’s a primer on How to Post a Blog in WordPress, in this case on the website of the BC Association of Travel Writers.
The Difference Between Posts and Pages
WordPress uses both Posts and Pages to deliver content.
They look similar on the front end, their Editor page looks the same on the back end, they both start with a “P.” So what’s the difference?
Pages
Pages are like old-time HTML sites used to be. They sit there and they tell you stuff. The most prevalent Pages are About, Contact, and Home. Pages only change when they are updated and they stay that way until the next time. They have no dates, no categories, and no tags. Pages are, in a way, self categorizing.
Posts
Posts are fresh web pages published in reverse chronological order and can be adding infinitely.
Posts are driven by Categories and Tags, which allow you to corral them into archive pages or in Custom Menus. For instance, in my wine blog, I categorize posts by wine regions and have arranged navigation menu tabs for each region. So when a reader pulls down “California,” all my posts on California appear on an archive page.
Compose in Word
It’s best to write your post in a Word-like document to take advantage of the myriad editing tools there. 300 words is the minimum for Google to pay attention to it.
Login to WordPress either on the bcatw.org/wp-admin page or by using the login form on the home page.
Navigate to New>Post on either the top or left navigation bar.
Copy and paste your perfectly-spelled, well-punctuated, key-worded piece of writing into the WordPress Edit box.
Enter your keyword-rich headline into the Title field and click Save Draft.
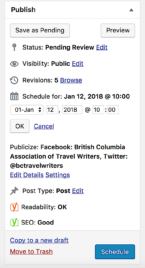
Now the real work begins
Schedule Date and Time
By Scheduling Post, you are both saving yourself from the horror of premature publication and controlling the launch time.
You really don’t want the post alert to go out before the post is ready.
Add Links
Every post must have some links, as that is the rule of the Web. Include both External links – set to open in a new window.
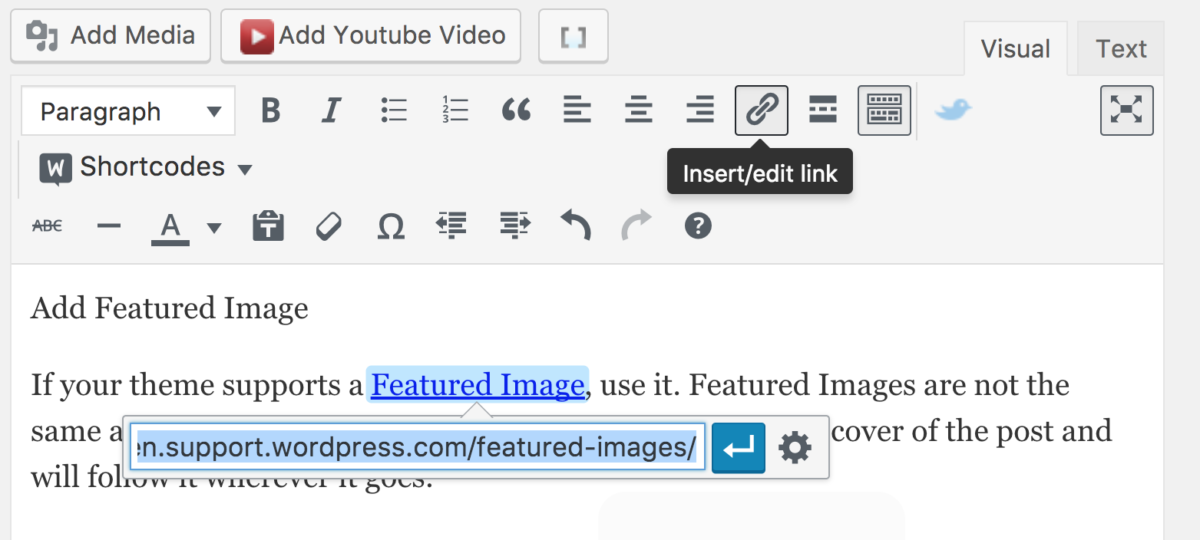
WordPress external links
Also set Internal links that reference your previous posts. Google loves that.
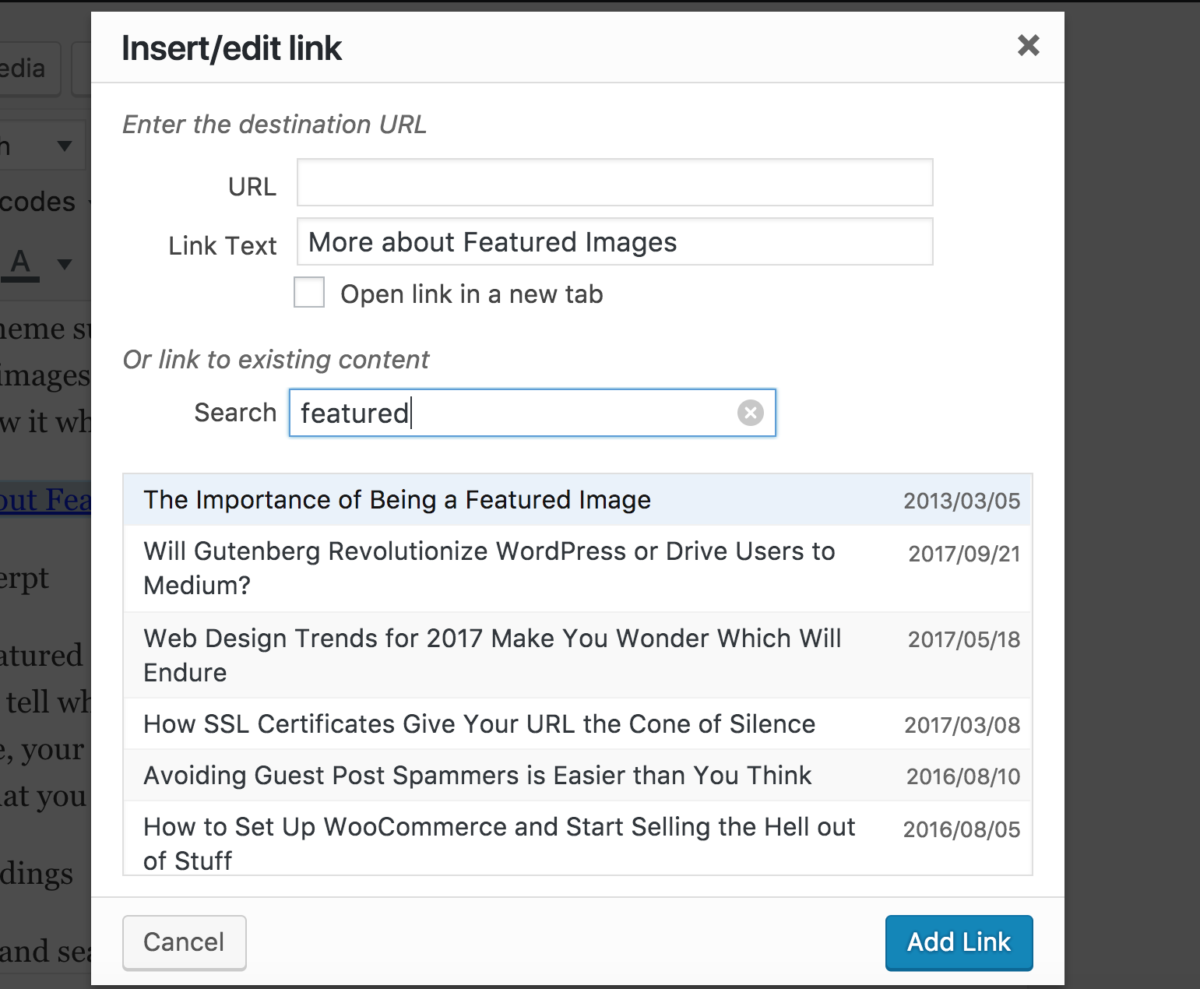
WordPress internal links
Insert Images
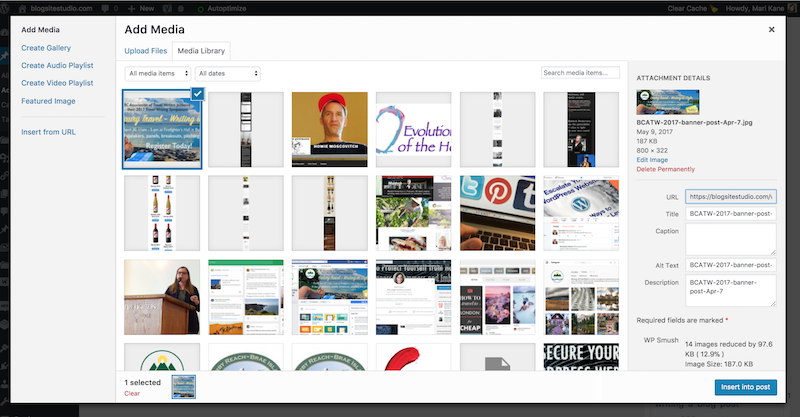
Thou shalt not post without images, as that will infuriate the Google gods and bore your readers.
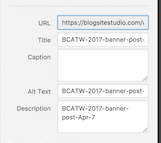
Pre-size your images to under 1000 pixels wide, save them with keyword-rich titles, hit Add Media, browse to upload them.
Optimize Images
In Media Manager, put your keyword in the image’s Title, Alt Text, and Description.
Alt Text is comma separated for search spiders and blind people.
Description is sentence structured clear to anyone who stumbles upon the image.
Add Featured Image

If your theme supports a Featured Image, use it.
Featured Images are not the same as images inserted in the post.
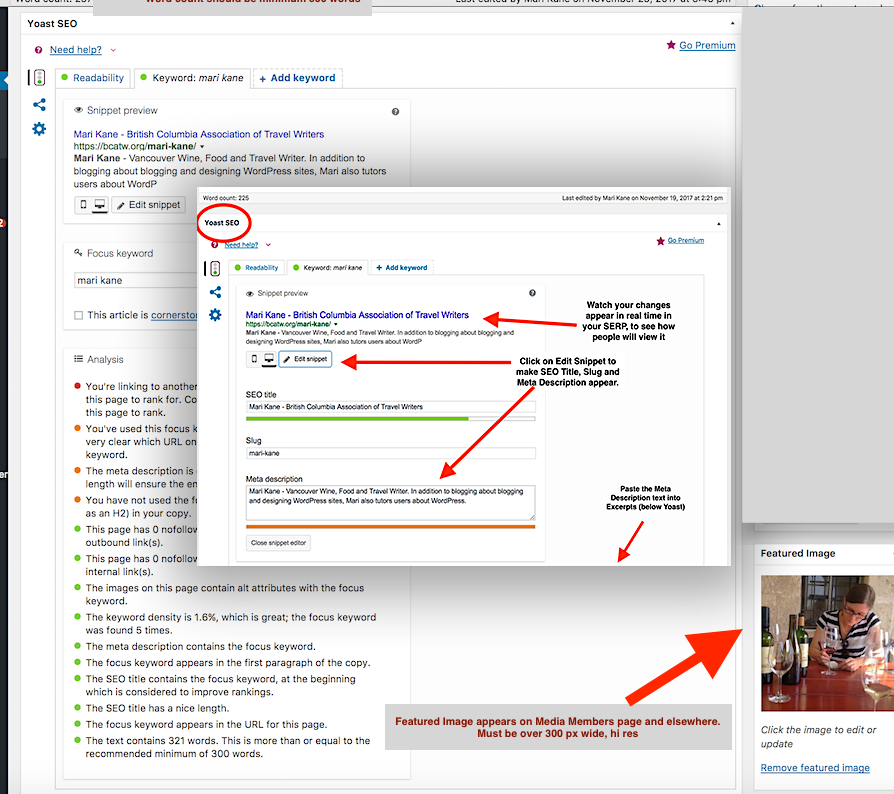
They are like the book cover of the post and will follow it wherever it goes.
Add Excerpt

If the Featured Image is your post’s book cover, the Excerpt is the book blurb. Excerpts tell what the post is about, and will follow the post around the Web.
If left alone, your excerpt defaults to the first few lines of the post, which is ok too if that’s what you want.
Add Headings
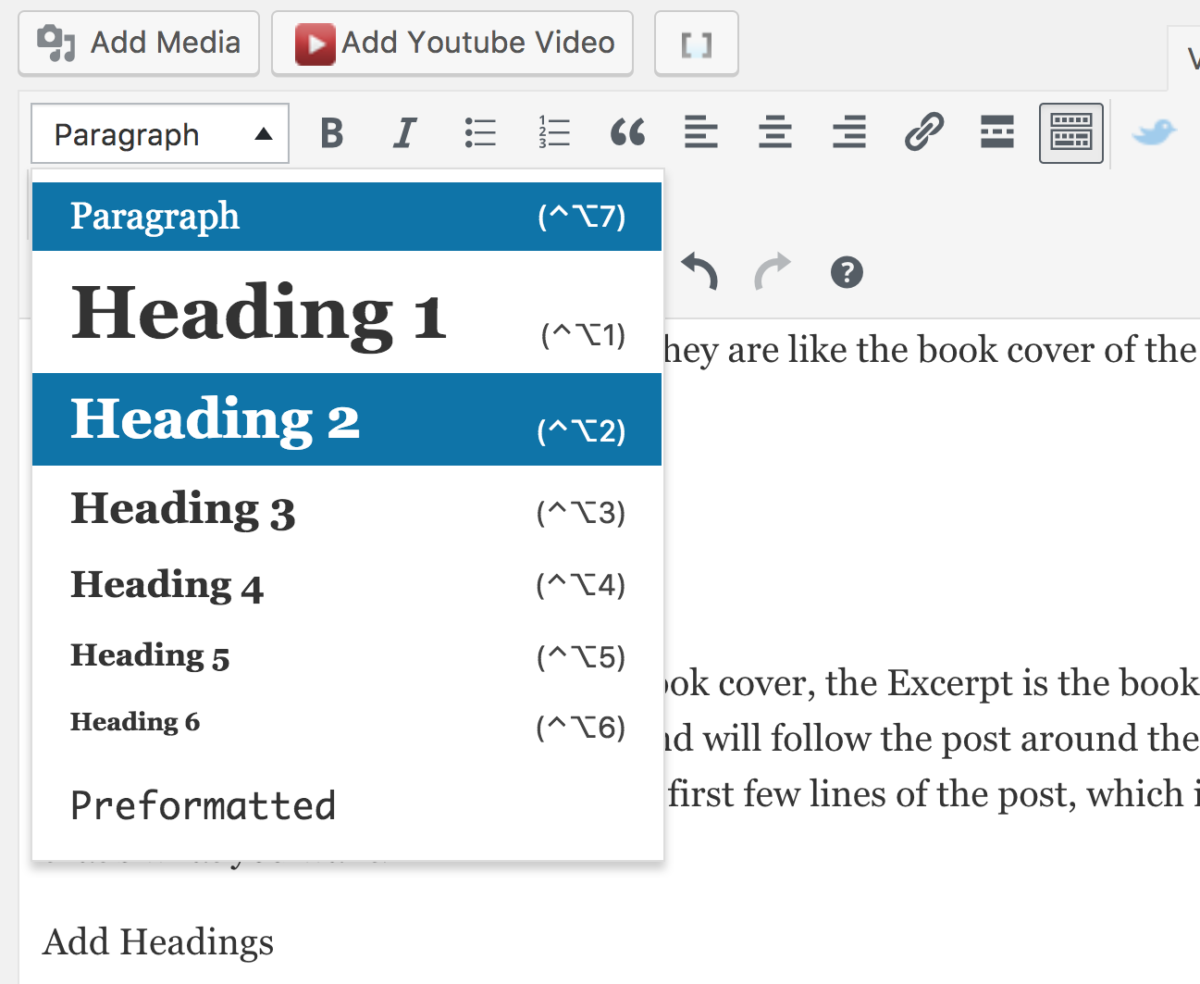
Readers and search engine spiders love Heading tags, like H2 or H3. They break up the text into chewable bites and make the post more scannable by calling out the important topics.
Use your keyword in at least one heading tag for good SEO.
 Add Category
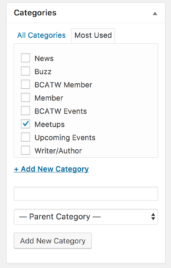
Categories are like your post’s table of contents, meant to sort topics at a high level. Categories wrangle your posts into the right corrals according to your settings. Use no more than 2 categories per post, as sometimes too many will confuse your site.
Add Tags
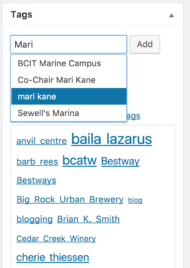
Tags are like your post’s index, meant to improve the user experience. Use liberally for names of people, places, and things. Allow Tags to autofill or use the tag cloud to keep Tags uniform.
Optimize SEO
Use a plugin like WordPress SEO by Yoast to optimize the keywords in your post’s Heading, URL, Title, Content and Meta Description. Yoast provides colour-coded Analysis of the post to nag you into getting it right.
Shorten Slug

Even though Yoast suggests using 70 characters in your title, that doesn’t mean 70 characters belong in your slug, (or permalink.)
Edit your permalink down to the essential keyword phrase and eliminate stop words such as, “and”, “the”, “of”, which dilute the slug’s meaning.
Add Social Descriptions
In Yoast>Social, customize your post description for Facebook, and/or Twitter and Google+. This feature also allows you to be picky and add an image other than the Featured Image.
Use Revisions
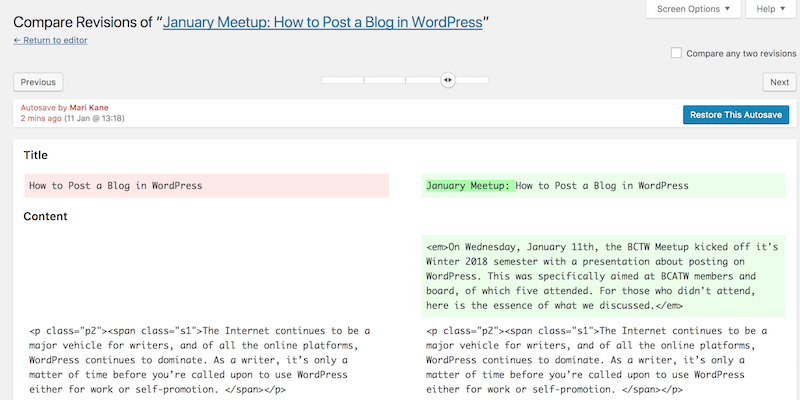
If you totally muck up the formatting of your blog post, you can click on Revisions in the Publish module and back up to the last saved version you want.
Note to BCATW Members
There is now a widget on the Home page called, “Find a Travel Writer by Niche,” to help editors find you.
You can categorize your writing niche in the Categories module on your profile page. If the current ones don’t apply to you, please add new general categories under the parent category, “Niche.”
Please update your page today!
Blog on with WordPress!
By following this guide, your post will be more readable, sharable, and ultimately more searchable.
You can learn more about WordPress at Mari’s YouTube channel, Blogsite Studio
And if you think there’s anything important we missed, please leave it in the comments below so that others can dig it too.


No comments yet.